
How to Reduce Input Lag on a Gaming Monitor or PC
Reduce Input Lag on a Gaming Monitor: fixing it usually means working through your settings systematically rather than blaming any single piece of hardware.
With a little bit of practice, you can easily take and edit screenshots on your Mac to capture and share important information or images from your screen.
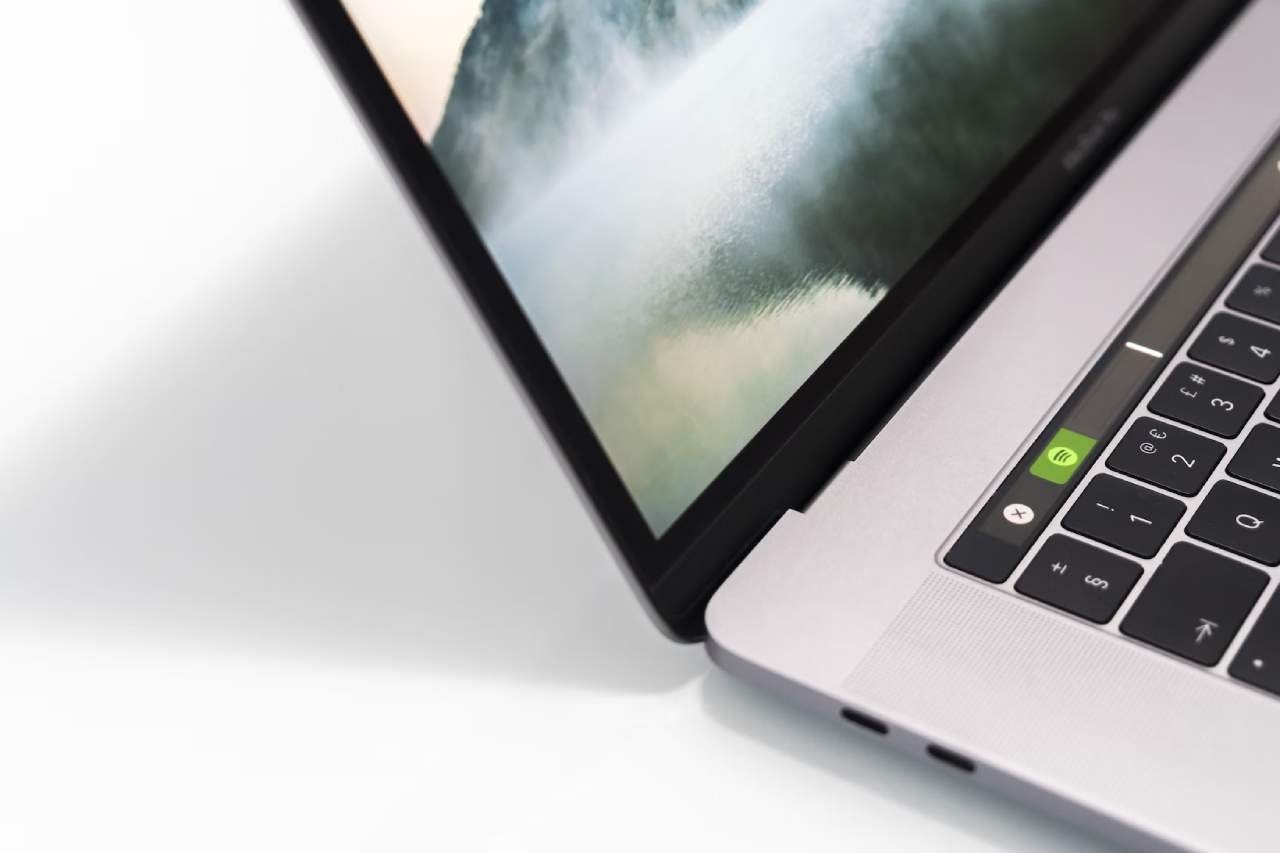
Taking a screenshot on Mac is a simple and convenient way to capture an image of your screen. With a few simple keyboard shortcuts, you can easily take a screenshot of your entire screen, a specific area of your screen, or a specific window. You can then use the Preview app on your Mac to add markup or effects to your screenshot, and save it to a location of your choice.
Once you have taken your screenshot, it will be saved to your desktop as a PNG file. You can then open the Preview app on your Mac to edit your screenshot and save it to a different location or format.
To take a screenshot of your entire screen on a Mac, press the Command + Shift + 3 keys on your keyboard. This will capture an image of your entire screen and save it to your desktop as a PNG file. The file will be named “Screenshot [date] at [time].png”, where [date] is the current date and [time] is the current time.
To take a screenshot of a specific area of your screen on a Mac, press the Command + Shift + 4 keys on your keyboard. This will bring up a crosshair cursor that you can use to select the area of the screen that you want to capture. Once you have selected the area, the screenshot will be saved to your desktop as a PNG file. The file will be named “Screenshot [date] at [time].png”, where [date] is the current date and [time] is the current time.
To take a screenshot of a specific window on a Mac, press the Command + Shift + 4 keys on your keyboard, and then press the Space bar. This will bring up a camera cursor that you can use to select the window that you want to capture. Once you have selected the window, the screenshot will be saved to your desktop as a PNG file. The file will be named “Screenshot [date] at [time].png”, where [date] is the current date and [time] is the current time.
If you want to save your screenshot to a different location or format, or if you want to add additional markup or effects to your screenshot, you can use the Preview app on your Mac. To do this, open the Preview app by clicking on its icon in the Dock or by going to the Applications folder in Finder.
In the Preview app, go to the File menu and select “Take Screenshot”. This will open a drop-down menu where you can choose the type of screenshot that you want to take. You can choose to take a screenshot of your entire screen, a selected area of your screen, or a specific window.
Once you have selected the type of screenshot that you want to take, the screenshot will be taken and automatically opened in the Preview app. You can then use the tools in the Preview app’s toolbar to add markup or effects to your screenshot, such as arrows, shapes, or text.
When you are finished editing your screenshot, go to the File menu and select “Save”. This will open a save dialog where you can choose the location and format for your screenshot.
With a little bit of practice, you can easily take and edit screenshots on your Mac to capture and share important information or images from your screen. Click here to view more guides.

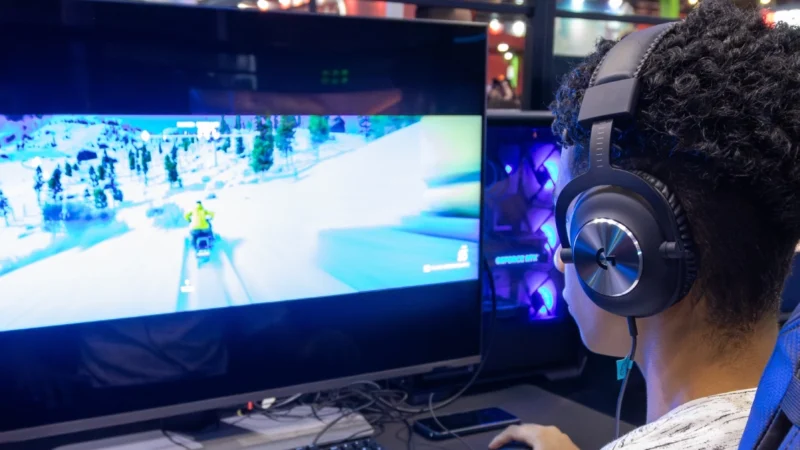
Reduce Input Lag on a Gaming Monitor: fixing it usually means working through your settings systematically rather than blaming any single piece of hardware.

How to Fix Common Wi-Fi and Router Problems at Home: A slow or unreliable Wi-Fi connection does not necessarily mean that your router needs to be replaced.
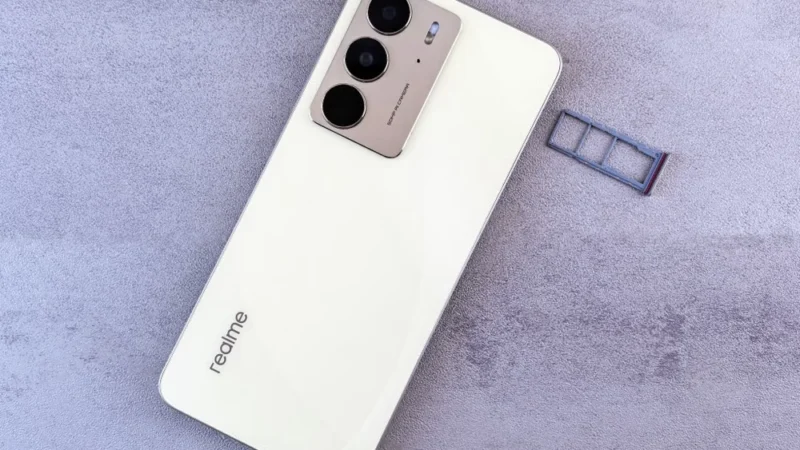
Getting a new SIM card in the UAE is a straightforward process, but every number must be registered against valid identification before it can be activated.
 GDGTME Team